


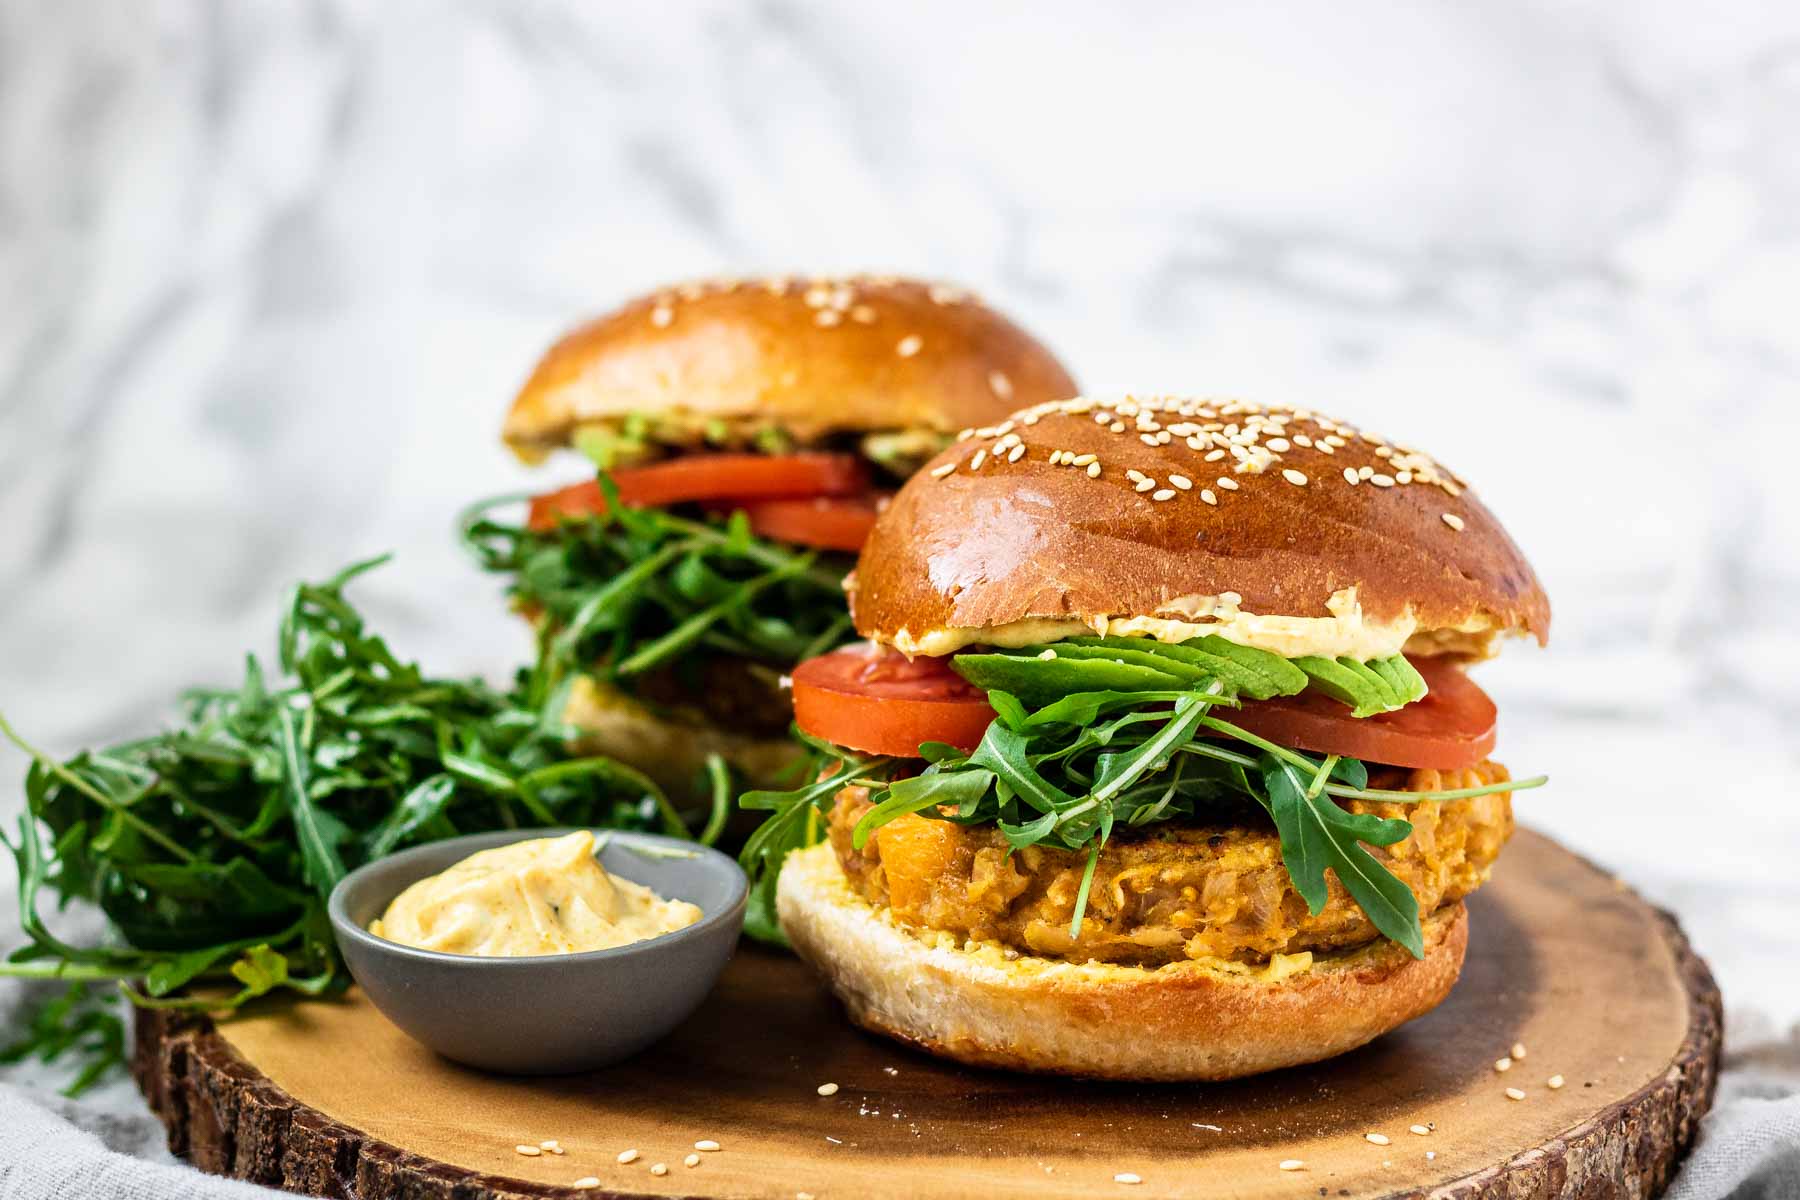
Homemade Butternut Squash Burgers | These butternut squash and bean burgers taste so good and are super easy to make. The squash patties are made with roasted butternut squash, white beans, oats, and a variety of spices for a flavorful veggie burger with a great texture – not mushy! Serve them on my Brioche Buns for a fantastic dinner. You can make these burgers by hand – no food processor needed.

These butternut squash burgers are super easy to make by hand – no food processor is needed. The leftover patties freeze well and can be reheated over medium heat in a frying pan.
I like serving mine on my homemade Brioche Buns because they are the best bun. I also like serving mine with curry mayo because I think curry and butternut squash go so well together. If you like the sound of that, you should try my Butternut Squash Hummus recipe.
Ingredients
See the recipe card for exact amounts.

Substitutions

How to Make Butternut Squash + Bean Burgers
Prep Tips
What’s special about my Butternut Squash burger recipe is that you don’t need any tools or equipment like a food processor, although you could use one to make the squash mixture.
I prefer to make these patties by hand and I use a fork to mash the beans and squash.
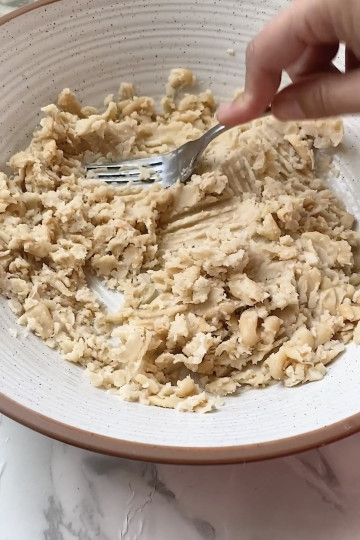
Saute onion + celery for 5 minutes. Add garlic and spices and cook for another minute. Let cool. Meanwhile, mash the beans with a fork.

Mash the squash in the beans, keeping some texture in both.

Add the cooled sauteed veg, flour, oats, and egg. Mix well. Add more flour if the mix is too wet.

Form 6 large balls with the mix. Flatten each ball into a patty on a piece of parchment paper.
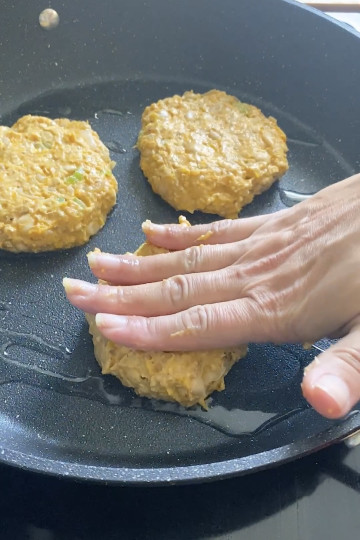
Or smash the ball into a patty in a skillet. Cook patties for 5-6 minutes over medium to medium-high heat on the first side.

Flip and cook for another 4-5 minutes.

Mix madras curry powder in mayo to make a curry mayo. Spread this on the top and bottom bun.
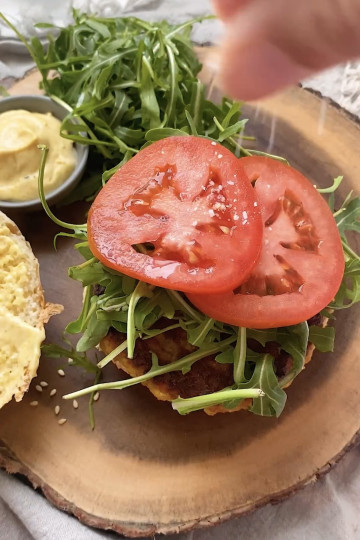
Add the butternut squash patty to the bottom bun followed by arugula, tomato, and sliced avocado. Serve.
Tips for making
What to serve with Butternut Squash Burgers
You can serve these burgers with a simple side salad or try my Spinach + Arugula Salad. My Curry Fries would be great on the side. Or just a batch of sheet pan Broccoli and Carrots, maybe seasoned with more Madras curry powder and cumin.
Storage
Store leftover cooled patties in the fridge, for up to 4 or 5 days, wrapped in plastic wrap or in a container with a lid.
Freeze the cooled patties, tightly wrapped in plastic wrap for up to 6 months.
Thaw in the fridge overnight and reheat in a skillet over medium heat, a few minutes per side.

FAQs
Yes, you can replace the butternut squash with the same amount of another winter squash like acorn squash or kabocha squash. You could also use sweet potato. Make sure any squash you use is already cooked.
Is butternut squash good for you?
Butternut Squash is a very good source of Vitamin A, which is good for vision, and skin health. It’s also a good source of Vitamin C, fiber, potassium, and magnesium.

Butternut Squash Burgers
Equipment
Ingredients
- 1 cup butternut squash from about 1/2 a small squash
- 19 oz white beans 1 can
- ½ large onion finely diced
- 1 stick celery finely diced
- 2 cloves garlic minced
- 1 large egg
- ½ cup all-purpose flour
- ½ cups quick oats
- 1 ½ teaspoons ground cumin
- 1 teaspoon chili powder
- 1 ½ teaspoons dried oregano
- 1 teaspoon kosher salt
- ½ teaspoon ground black pepper
Curry Mayo
- ½ cup mayonnaise
- 1 teaspoon Madras curry powder
- salt and pepper, to taste
To Serve
- 6 brioche buns my recipe
- arugula, spinach, or lettuce, sliced tomato, sliced avocado optional
Instructions
- Cook Veg: Sauté the onion and celery for 3 to 5 minutes, or until softened, then add the garlic and spices, and cook for additional 30-60 seconds.Remove from heat and set aside to let cool.
- Make burger mixture: Mash beans and butternut squash together with a fork.Add the rest of the ingredients and mix to combine.Using wet hands form into 6 patties.
- Cook patties: Fry in an oiled non-stick skillet for 5-6 minutes on the first side, and 4-5 minutes on the second side.
- Serve: Mix curry powder with mayo, season with salt and pepper, and spread on the top and bottom buns. Add a burger patty and toppings of your choice. I like arugula, tomato, and avocado slices. Serve.
Video
Notes
Nutritional information is an estimate. Values vary based on products used. Read our full Nutrition Disclaimer.
This post was originally posted on June 27, 2016.

SHARE THIS RECIPE
Rating, commenting, and sharing my recipes really helps. Thanks for taking the time! Mention @pipercooksblog on Instagram.


This looks great! It’s nice to see something other than the same-old, same-old maple/cinnamon/something-sweet ideas when it comes to starchy winter squashes. Thanks for the info on storage, too. I’ll definitely be trying that method!
Thank you so much for information about this technique! My first time using my indoor grill and the chicken turned out fantastic!! Your instructions were easy to follow and yielded results even better than what I had hoped for. I look forward to delving deeper into your blog and learning even more. Thanks again:)
So tasty! even my squash hating kids loved them!
Yay, now that’s a win! Love when we find something the kids love 🙂
Jacqueline