
Are you in the mood for some creamy, dreamy chocolate peanut butter ice cream but don’t have an ice cream maker? Fear not, friend – my easy no churn recipe requires only a few simple ingredients and a whisk or electric beater. Chocolate and peanut butter are long-time best friends and this ice cream recipe won’t disappoint you – it’s rich, creamy, and super simple to make.
This no-cook chocolate peanut butter ice cream recipe is so easy, it comes together in 10 minutes of hands-on time and then you just freeze it and wait! There are no eggs involved, no cooking, and no bulky machine!
My easy chocolate peanut butter ice cream recipe is way better than store-bought – it’s creamy, sweet, salty, and indulgent.
How does no-churn ice cream work?
No-churn ice cream gets its thick and creamy texture from whipping cream and combining it with sweetened condensed milk. You don’t need to cook eggs, make a custard, or use an ice cream machine. Once the ice cream base is made, you flavor it and freeze it overnight.
Ingredients
See the recipe card for exact amounts.
Substitutions
Instructions
Prep Tips
For no-churn ice cream you whip cream to stiff peaks, add your flavors and then freeze it overnight. It’s pretty easy to make and you can whisk it by hand or use an electric whisk. I like the whisk on my 3-in-1 blender but you could also use a handheld beater or a stand mixer.
Whisking by hand works, it just takes longer to get the cream to stiff peaks.

Whip the cream to stiff peaks.
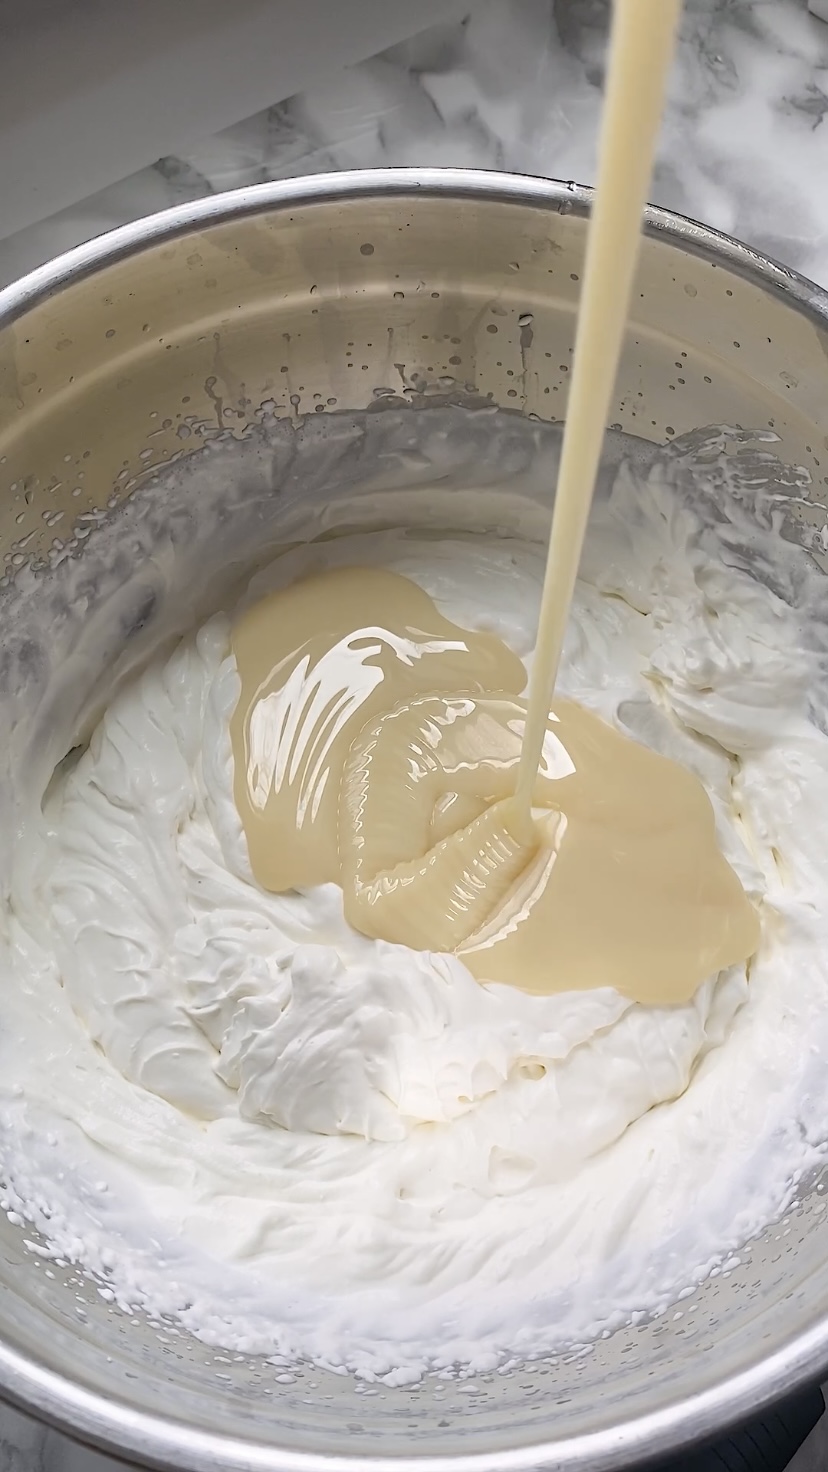
Add the sweetened condensed milk.
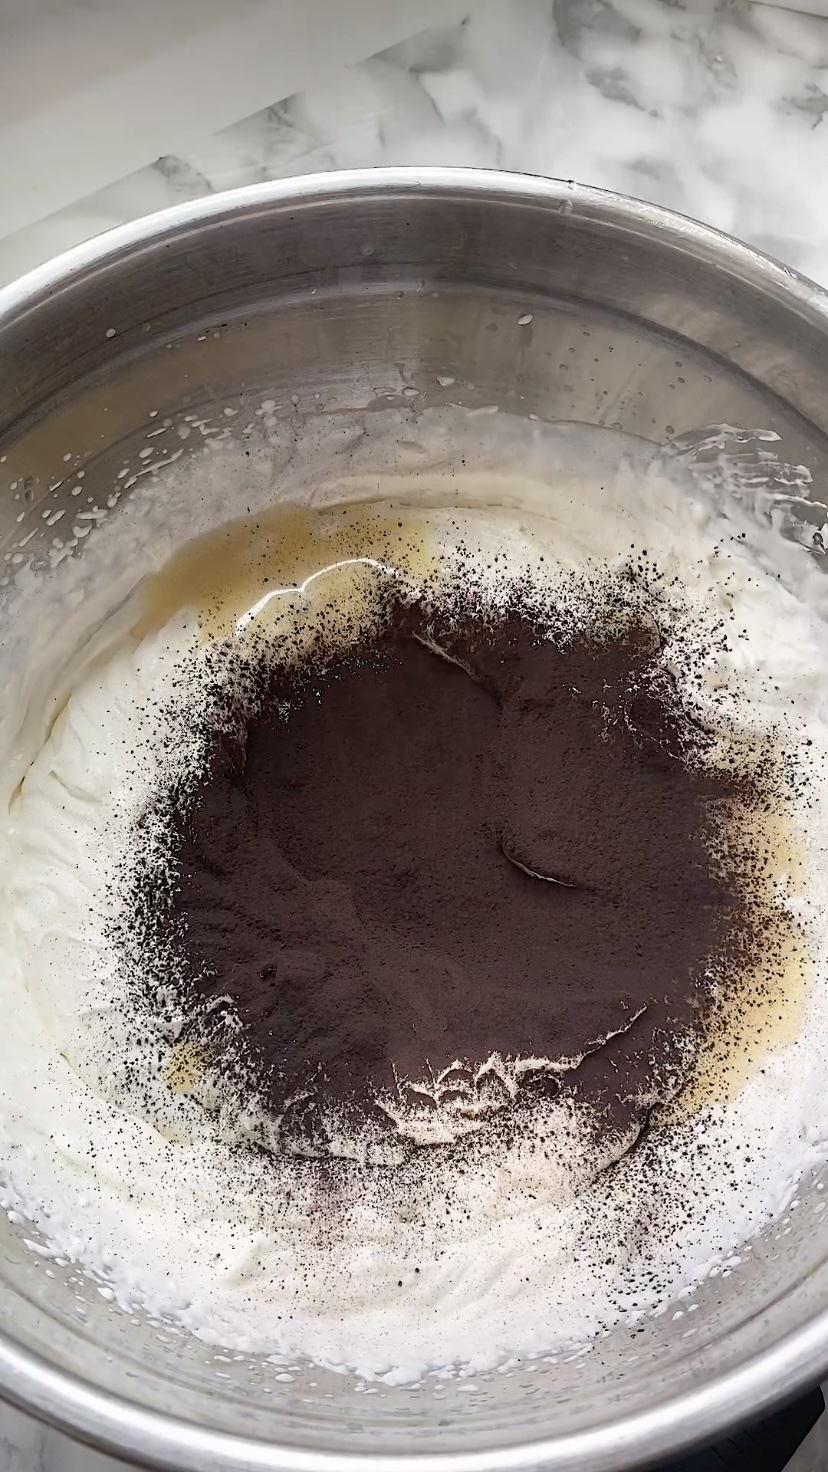
Sift in the cocoa powder. You need to sift it because cocoa powder lumps up in the package.

Fold the ingredients in until evenly mixed, being careful not to deflate the cream you’ve just whipped.

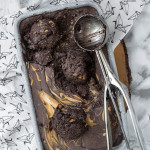
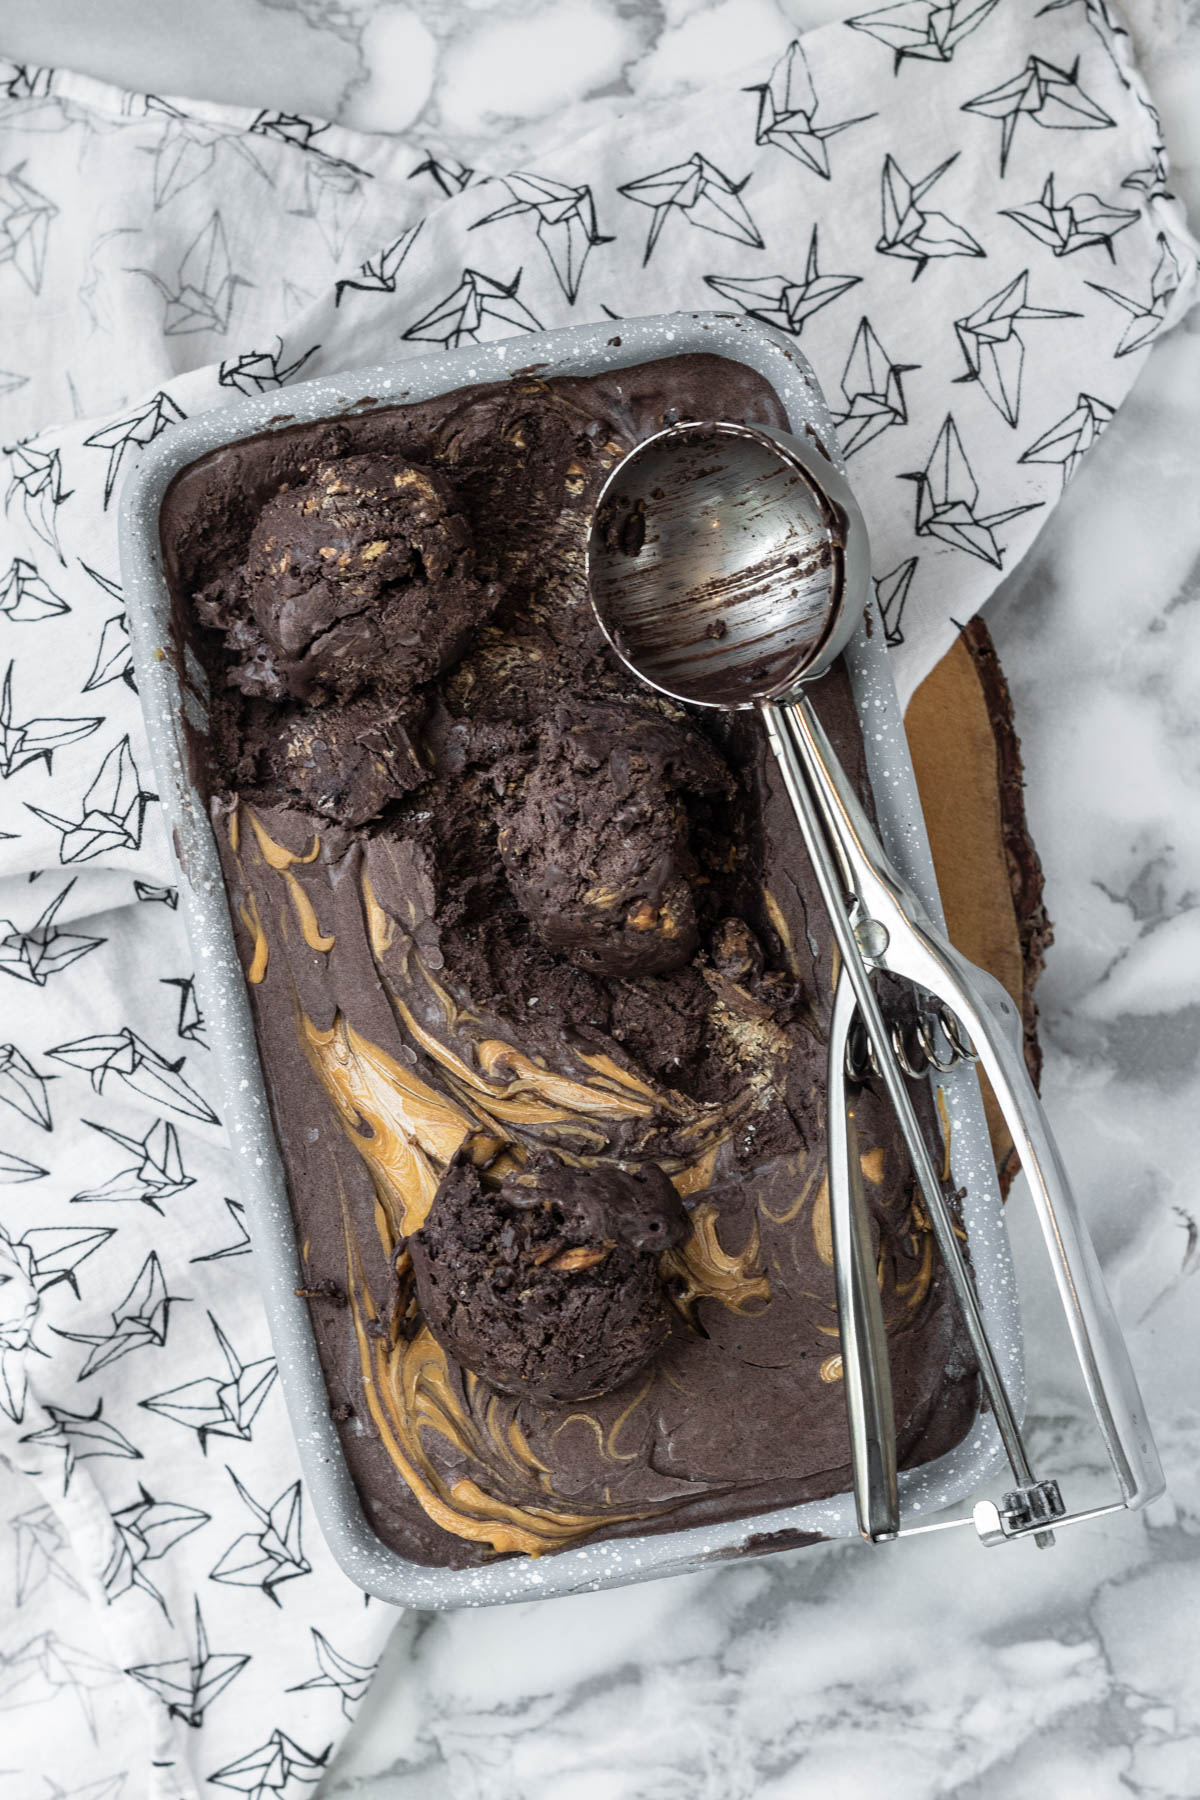
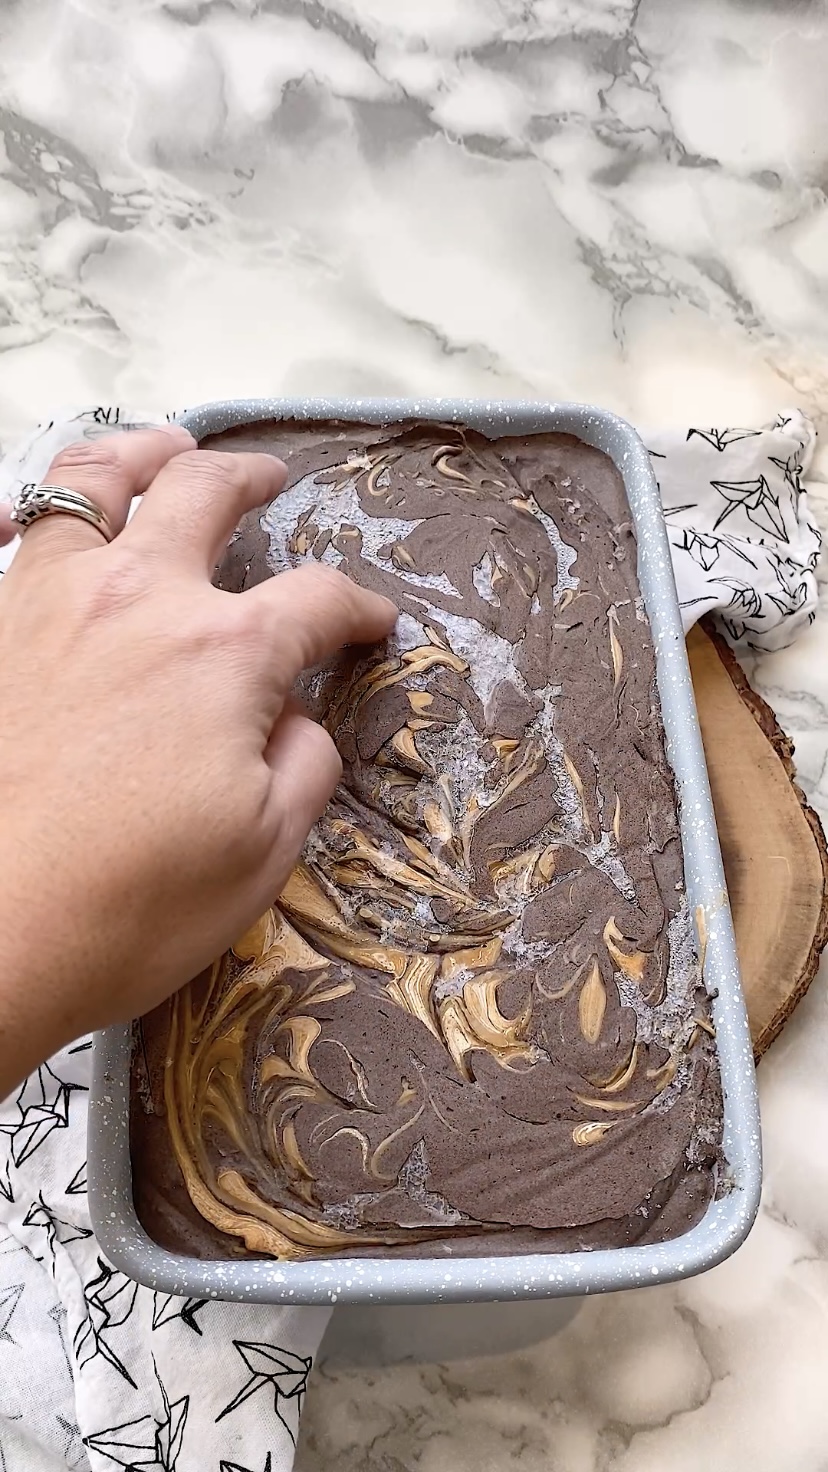
Add a third of the ice cream into a loaf pan and swirl a third of the melted peanut butter on top.
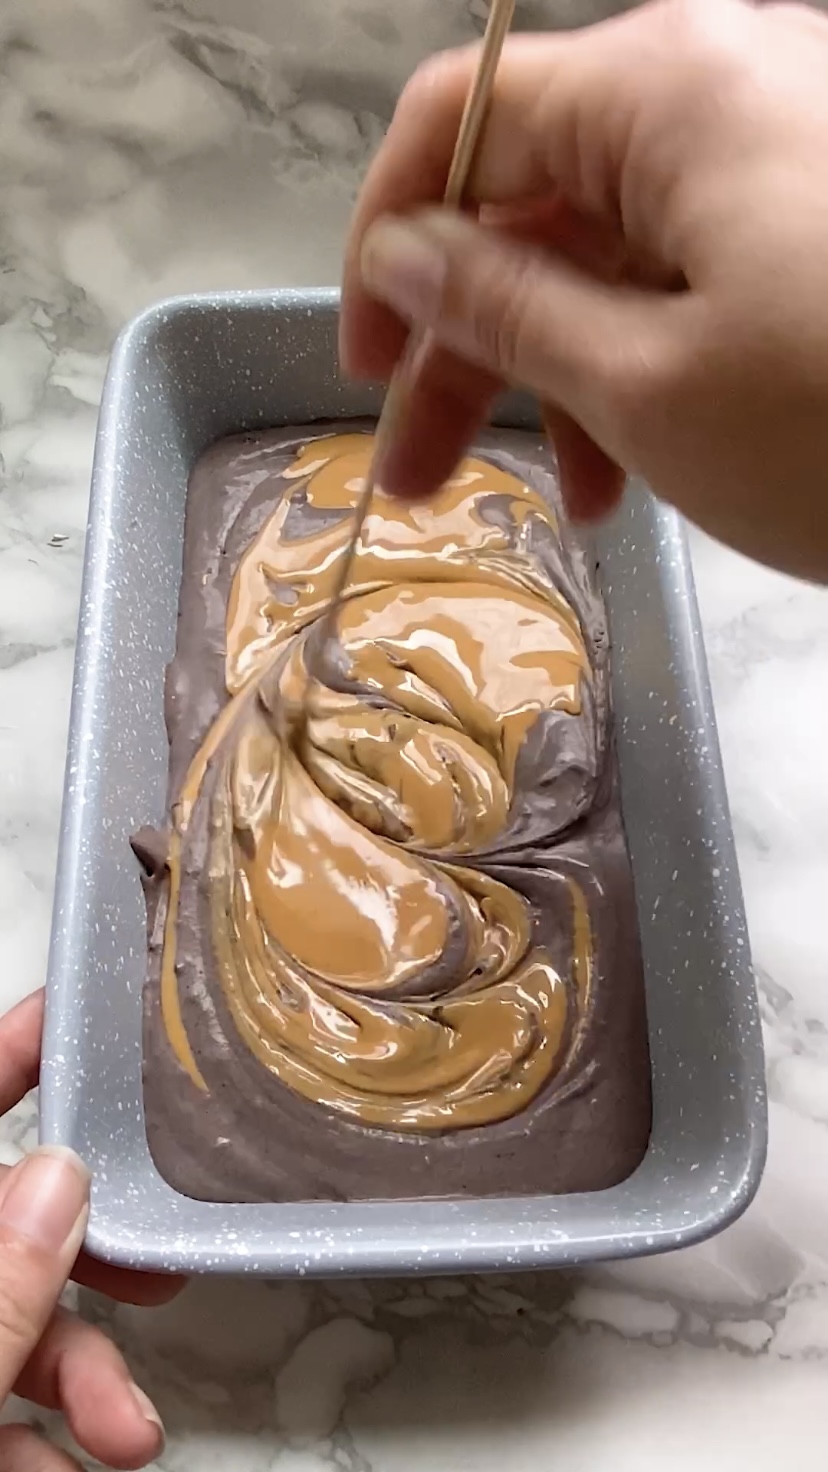
Use a skewer to swirl the peanut butter through the ice cream. This will leave little swirls and chunks of peanut butter in the final ice cream. Repeat with the rest of the ice cream and peanut butter.
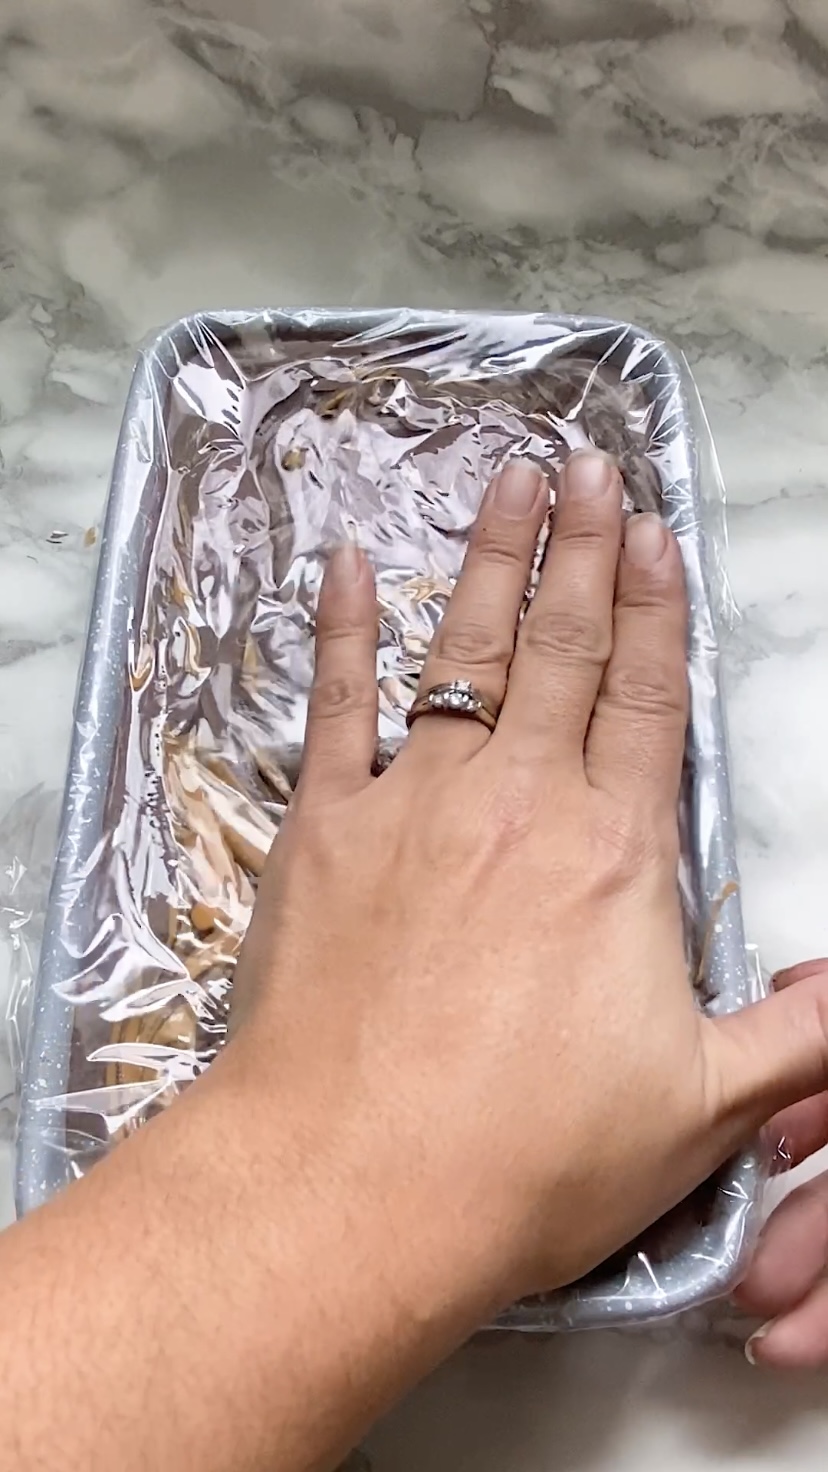
Press plastic wrap on top of the ice cream, flattening it as much as you can. Freeze for six hours or overnight.
The reason you press plastic wrap in tightly is to stop ice crystals from forming on top. Some will anyways, just brush them off – a pastry brush works well.
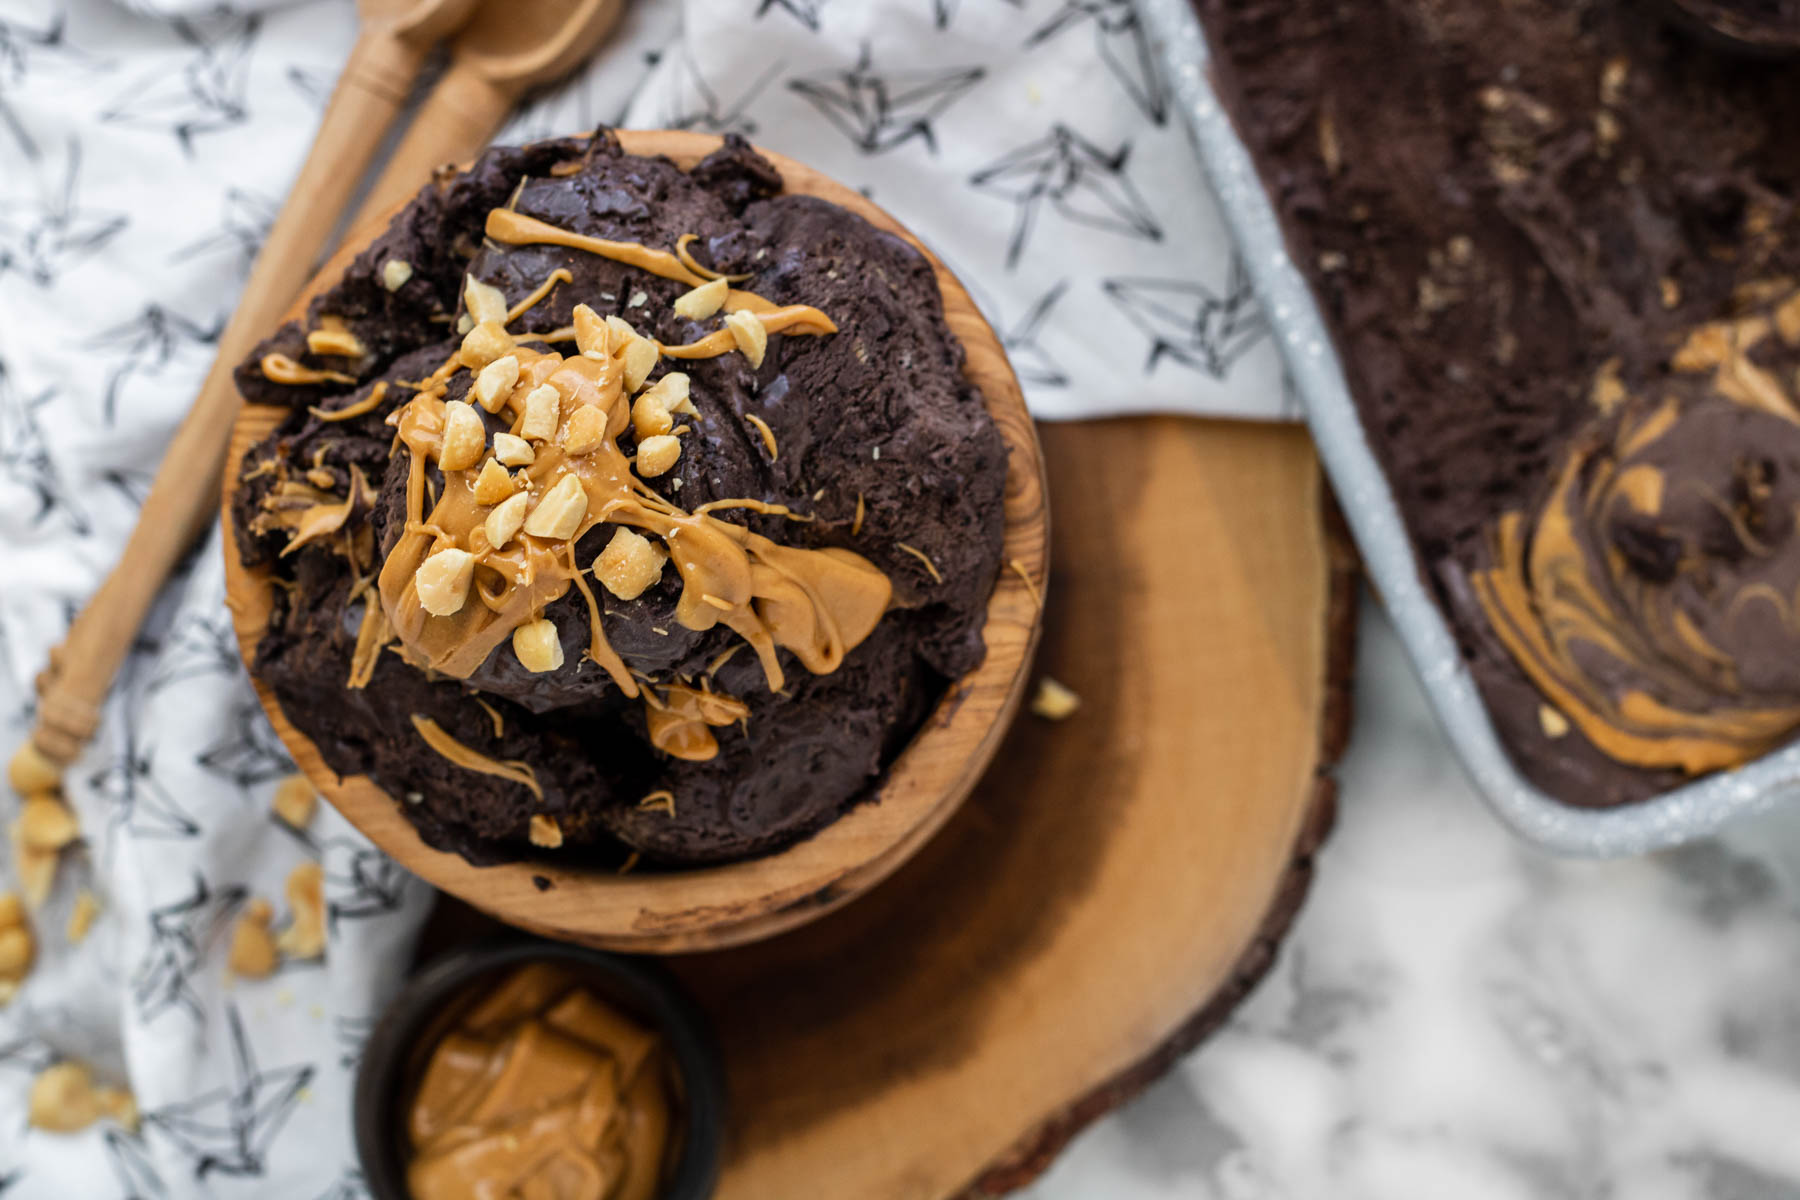
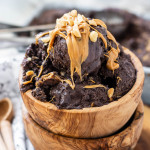
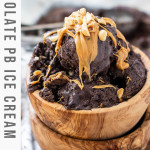
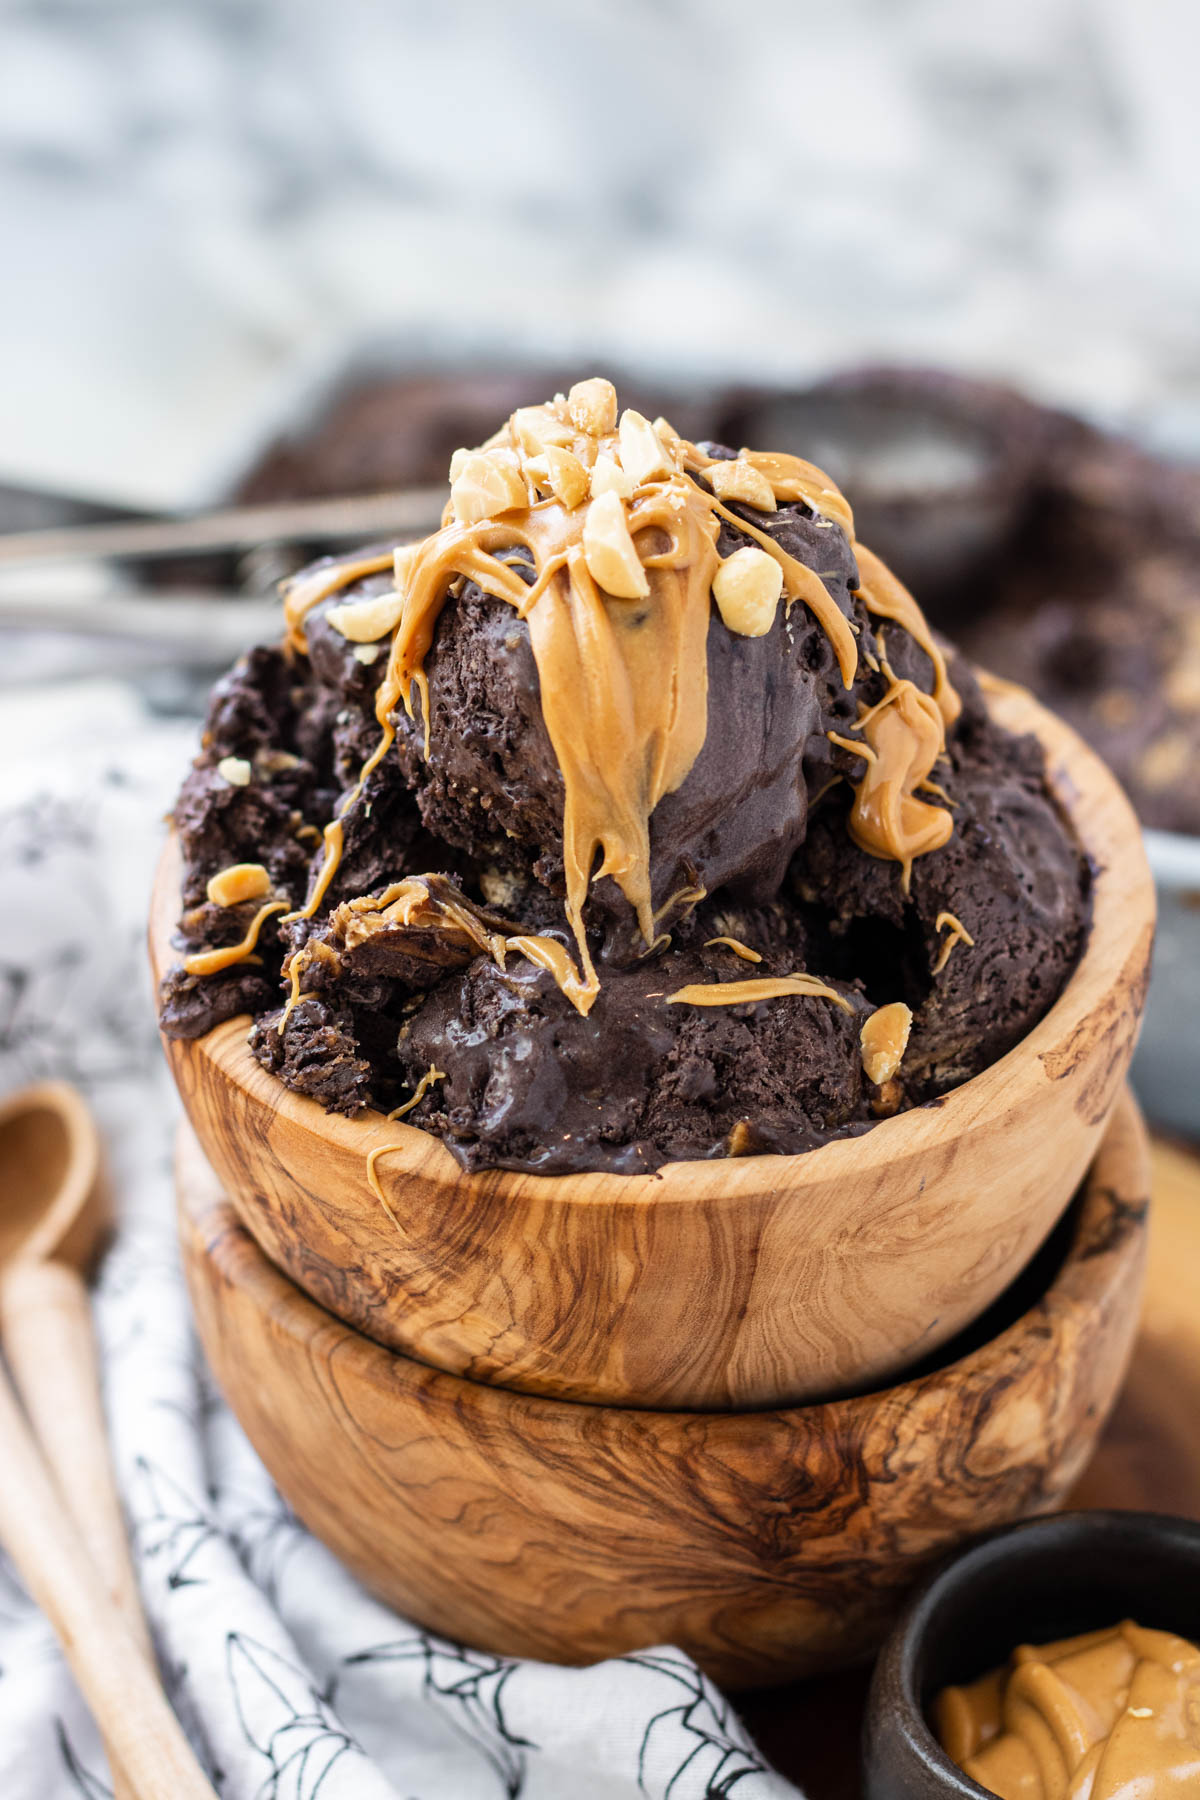
I like to serve this ice cream with more melted peanut butter on top and a sprinkle of peanuts.
Let the ice cream sit at room temperature for about 10 minutes to make it easier to scoop.
Tips for making no-churn ice cream
What to serve with no-churn ice cream
If you’re going all out and want a super decadent dessert, I suggest making my Super Fudgy Brownies and finishing them off with a scoop of this ice cream.
You could also try my Dark Chocolate & Avocado Brownies or serve this ice cream with my Bakery Style Chocolate Chip Cookies or my Peanut Butter Chocolate Chip Cookie Oat Bar.
Love the combo of peanut butter and chocolate? Try peanut butter chocolate Rice Krispies treats, or peanut butter balls next.
Storage
Store the ice cream tightly covered in the freezer.

FAQs
No-churn ice is homemade ice cream made without an ice cream machine, using whipping cream whipped to stiff peaks and sweetened condensed milk as the base.

No Churn Chocolate Peanut Butter Ice Cream
Equipment
Ingredients
- 1 pint whipping cream
- 14 oz sweetened condensed milk 1 can
- ⅓ cup dark cocoa powder
- ½ cup melted peanut butter
Instructions
- Make the base. Whip the cream to stiff peaks with an electric mixer or by hand with a whisk (this takes longer but it's doable). Fold in the sweetened condensed milk and the sifted cocoa powder.
- Mix. Add a third of the ice cream mix to a bread loaf pan. Randomly spoon over a third of the melted peanut butter. Use a skewer or the pointy end of a steak knife to swirl the peanut butter through the chocolate ice cream base. Repeat twice with the ice cream and melted peanut butter until it's all used.
- Freeze. Cover the ice cream with plastic wrap, pressing the plastic into the top of the ice cream to minimize ice crystals from forming. (If they do just brush them off of the frozen ice cream). Freeze for 6 hours or overnight. See notes.
- Serve. Serve as is or topped with melted peanut butter and chopped peanuts.
Video
Notes
Nutritional information is an estimate. Values vary based on products used. Read our full Nutrition Disclaimer.
Disclosure: This post may contain affiliate links, meaning I get a commission if you decide to purchase through my link, at no extra cost to you.

SHARE THIS RECIPE
Rating, commenting, and sharing my recipes really helps. Thanks for taking the time! Mention @pipercooksblog on Instagram.